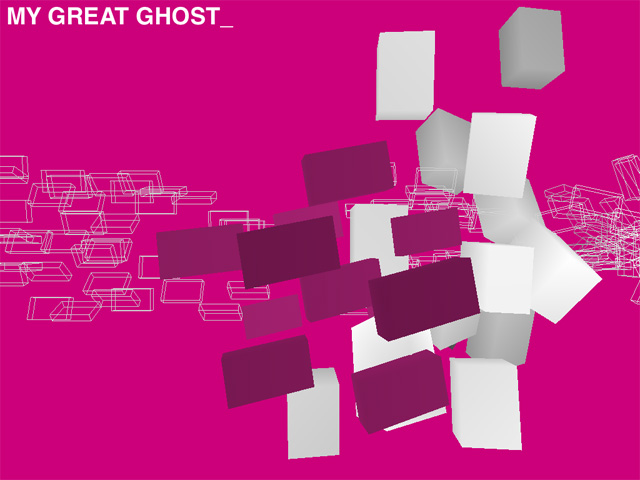
I spent the past few months working with Ahna Girshick and Graham McDermott of Snibbe Studio on the design and development of the
REWORK app-album for iOS. REWORK_ features eleven interactive music visualizers and an interactive instrument, Glass Machine.
Each scene in the album is staged with an initial form that is transformed throughout the song. Different aspects of the music are used to either add new elements to the scene or to tug at the base form in different ways. Similarly, viewers can interact with all the elements of the scene, either deforming them, changing their course of movement, or in some cases both.
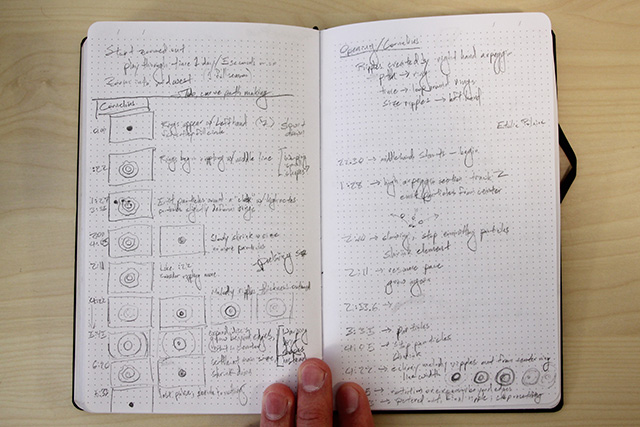
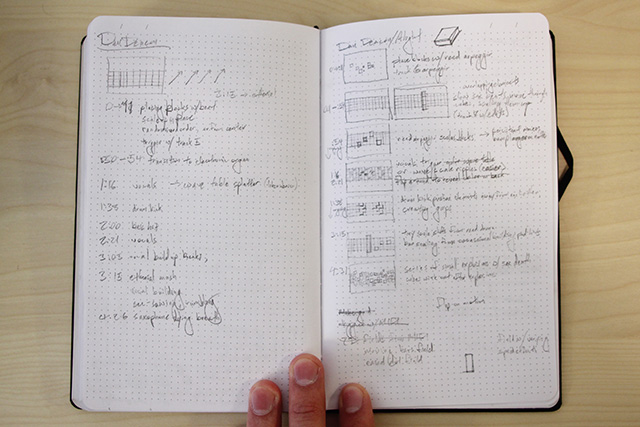
The first few weeks I was on the project were spent experimenting with the content we had and the themes we wanted to employ in the album. We had some midi data and all the songs, and I spent many hours listening to the album with sketchbook in hand to get a feel for the music. In addition to drawing shapes and writing feelings during the music, I broke down the songs I was responsible for into their component forms (think intro AABCBCBBCAAAAACC outro). This was awesome work, except on the 20+ minute Beck piece, where it was brutal.
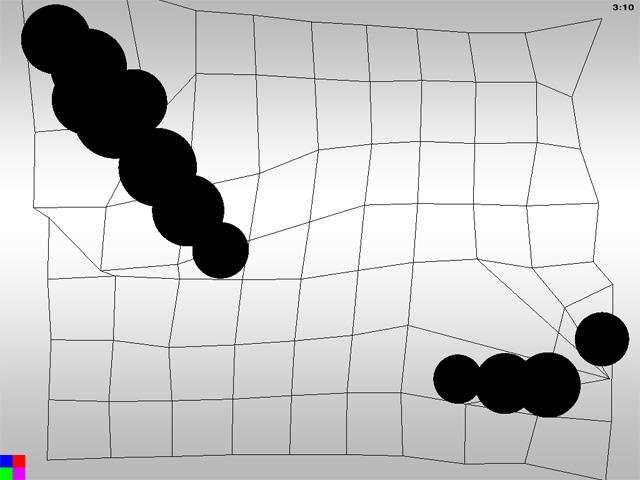
In some of the early sketches, we were throwing stuff on screen and using the midi to do things like pulse size/color/velocity or create dynamic structures.


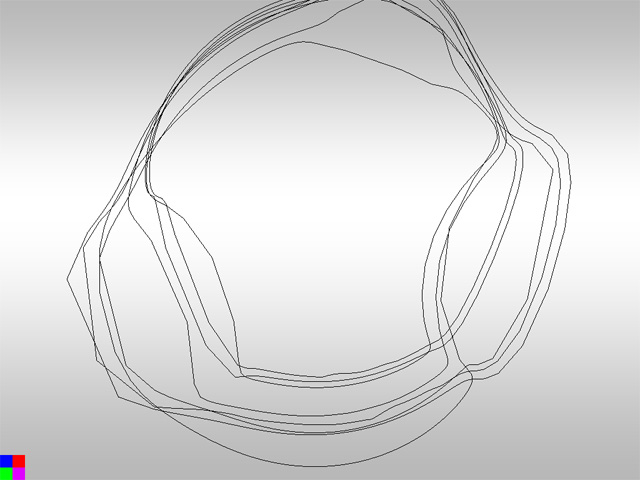
Once we had general breakdowns of each piece and some visual and interaction sketches, we went through and did something closer to a storyboard for the pieces. These were used to agree on the number and types of forms/movements that would be present in each piece. Since the team was small and could envision how they would transform when coded, we kept them pretty simple.
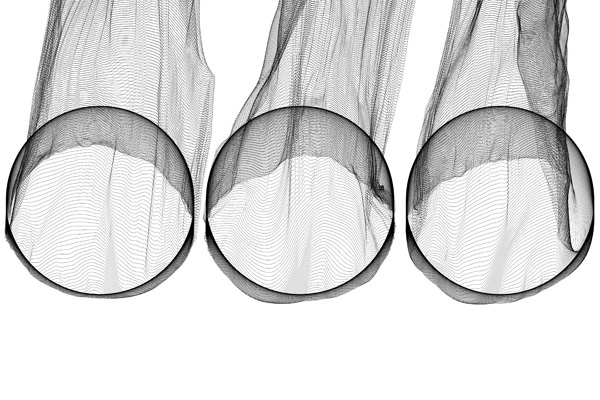
From the storyboards, I produced primarily black and white interactive animations for the pieces I animated. After animating, I set up a simple framework for applying color to the various elements in the scene. Ahna and a few others at Snibbe worked on selecting colors and timing their appearance and we worked together to make sure they could color the elements in the way they wanted to. I had initially implemented HSV color fading, but for many of the palettes RGB fading ended up looking better.
For the NYC and Island tracks, Pete Hawkes developed a series of great processing sketches and detailed a number of ideas about how they could be modified throughout each of the songs. I ported his work into Cinder and added controls via XML and SVG so that other artists could do the final animation without needing to touch any code.
REWORK_ was written on top of Cinder. For sequencing the animations and matching timing with the music, we used a combination of the timeline interface provided by Cinder and midi files read in using middl. Using midi was actually quite nice, and I spent quite a bit of time toward the end pushing notes around on the piano roll in Logic to control the some of the animations.
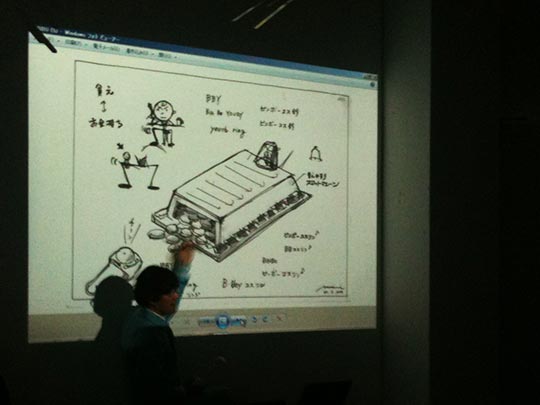
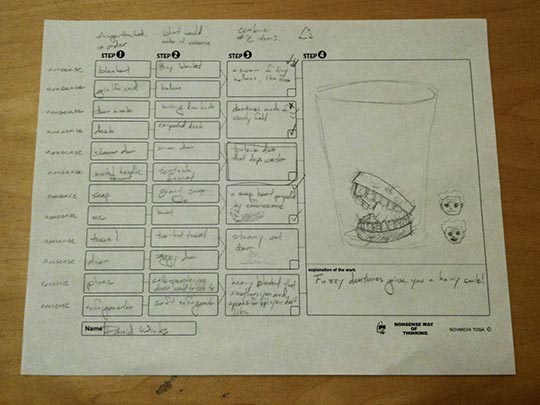
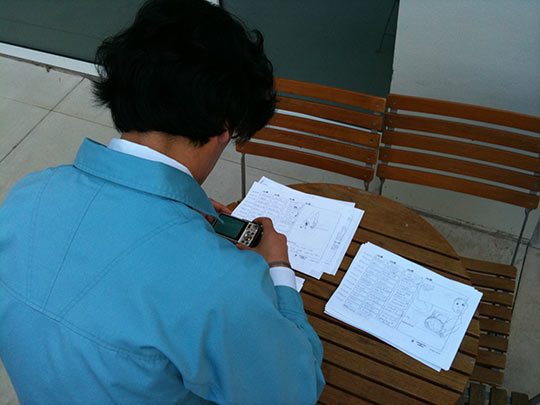
Below are some additional process images. To see the final work, you should purchase it from the app store.